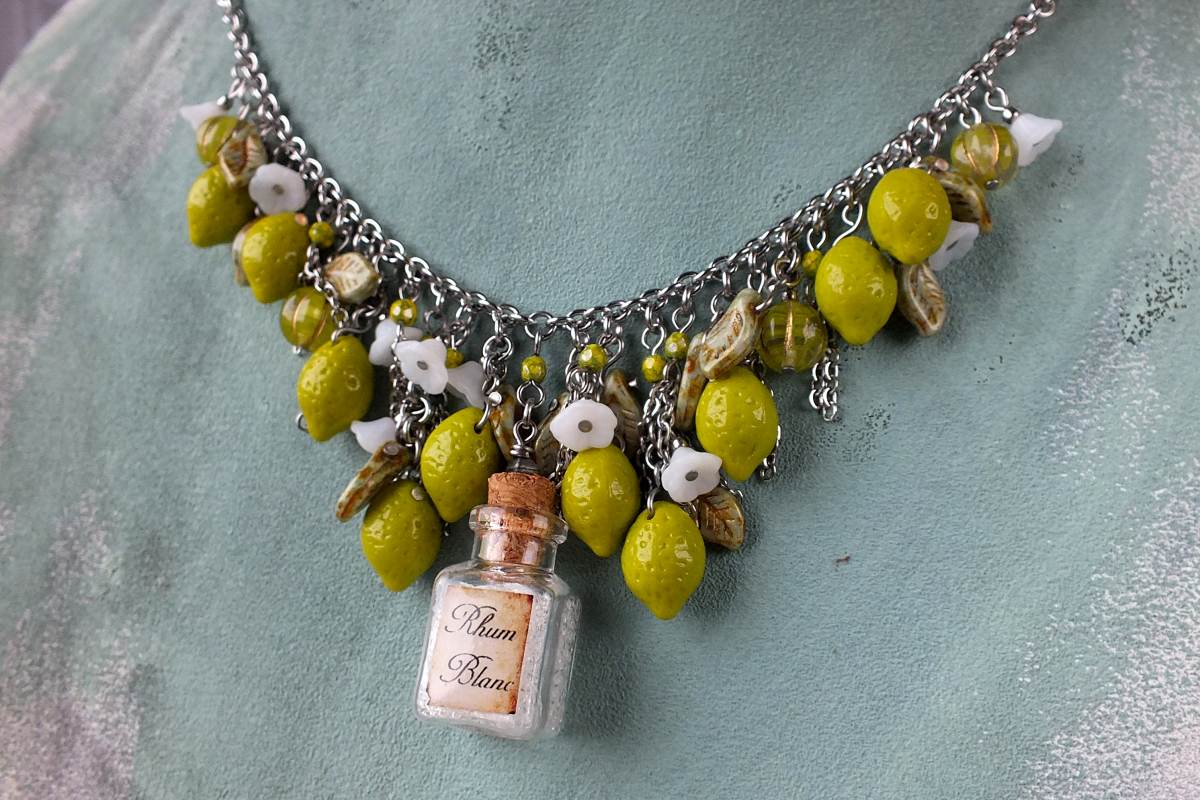
Simple Wire Loop On Top-drilled Beads
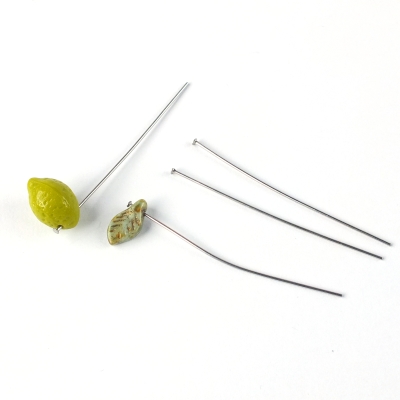
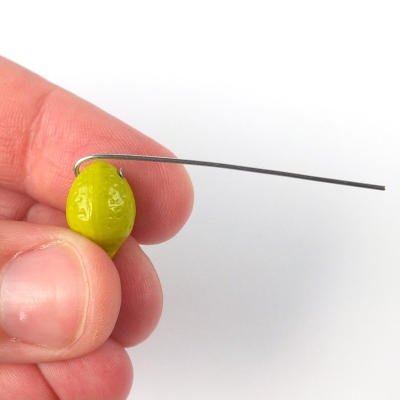
First, string your bead on a long headpin (preferably with flat end). Of course short pins would work just fine too, I just find working with longer headpins more comfortable in this case.
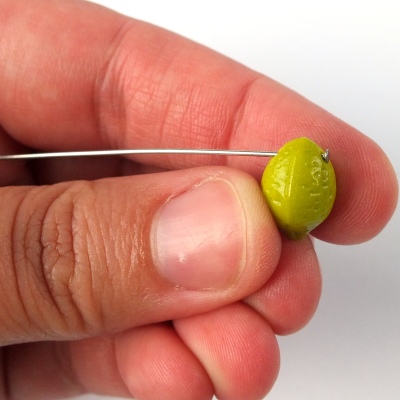
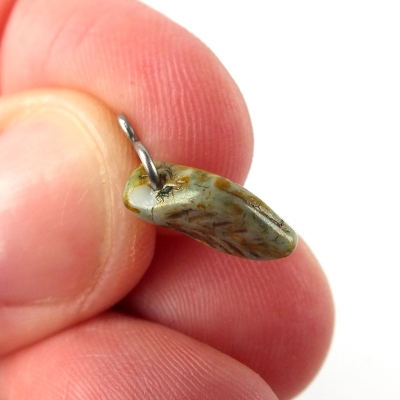
Then bend the headpin around the top part of the bead. The main part of the pin should run parallel to the hole in the bead (as shown in the picture).
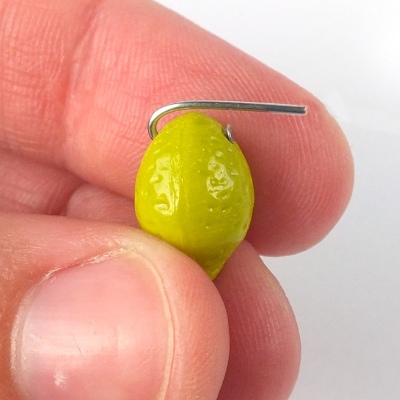
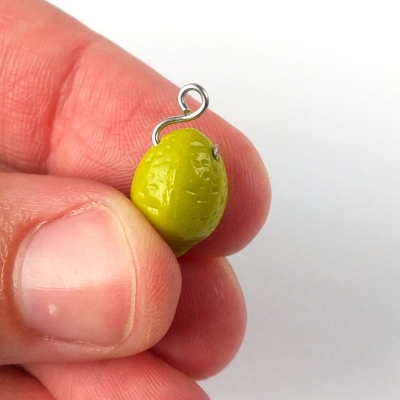
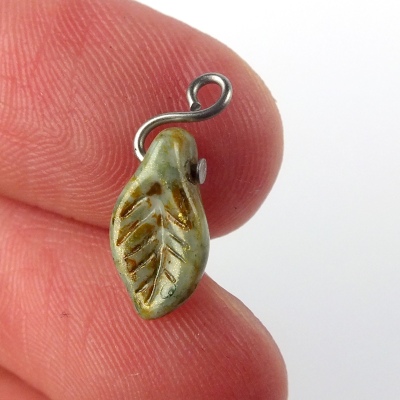
Cut the headpin shorter and then use round-nose pliers to make the loop that would sit above the highest point of the bead.
It will probably take some practice, but if you can make simple loop on more “traditional” shapes of beads, you will master this in no time at all.
But just in case, prepare enough eyepins and beads to make sure you have enough if something goes wrong.
Like … here, where I managed to chip the bead while bending the wire. Oops 🙂
The bottle
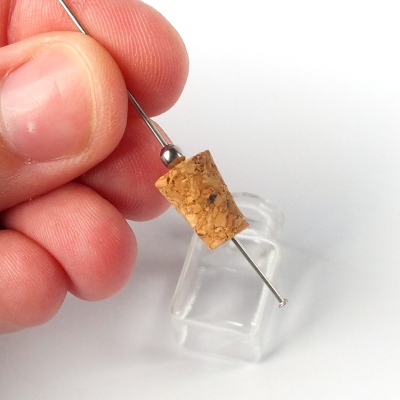
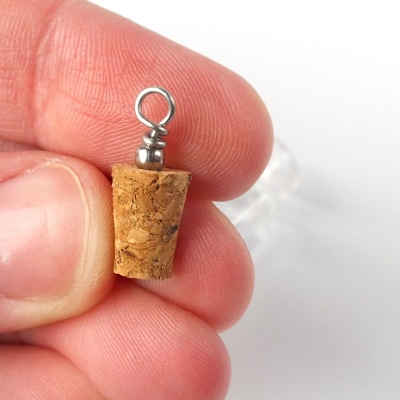
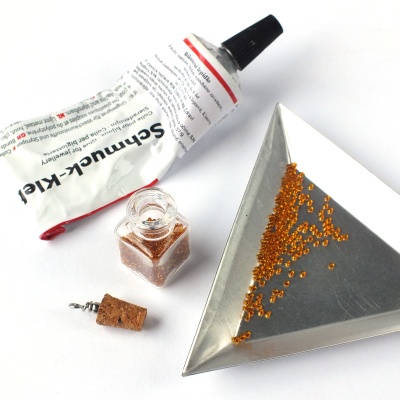
You can get these tiny decorative bottles with cork stoppers in most craft stores or well-stocked bead stores.
First take the cork out and use a thick needle or pin to make a hole all the way through. Then string the cork on a headpin, add one small bead and make a loop (I usually make wrapped loops on these, but a simple loop will work too).
Then pour tiny seed beads (these are Preciosa Ornela 16/0s) into the bottle. Then apply a bit of jewelry glue onto the cork and put it into the neck of the bottle and let the glue set.
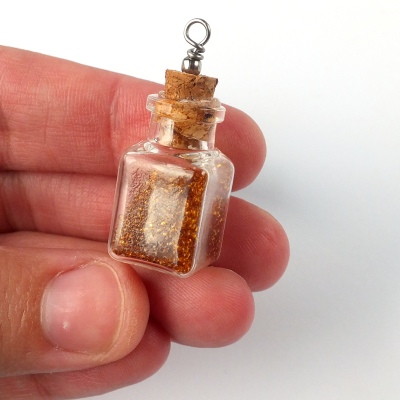
Meanwhile you can start working on a vignette. To add a personal touch to your project, you can make the vignette by hand, but if you want to get more creative and get a more “professional” result, you can design your vignette in your favorite graphic editor and then print it.
(If you want to “go digital” and like the “old paper texture” I used for my bottles, you can download it here.)
(Tip: If you want to use pictures you found online to design your vignette, please keep copyright laws in mind and only use materials you are 100% sure you allowed to use 🙂 )
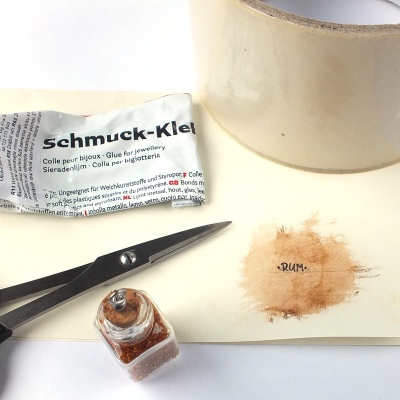
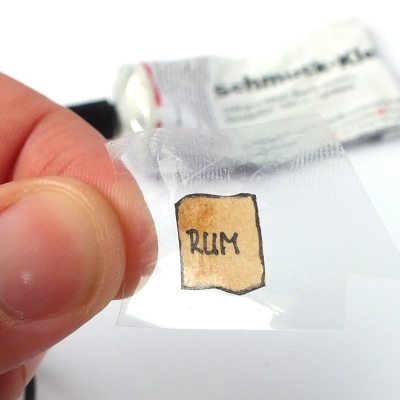
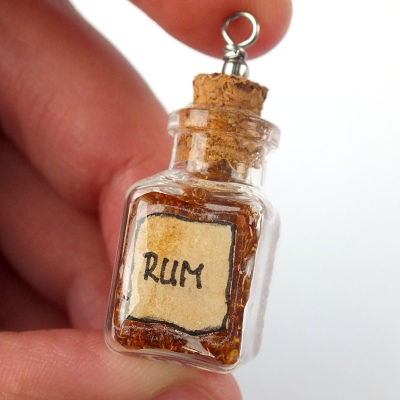
When I have the vignette cut out, I usually put a piece of transparent tape over it and cut the tape to be approximately 1mm bigger on each side. Then I put a tiny bit of jewelry glue on the bottle, put the vignette on the bottle and let the glue set. As the last step I usually cover the entire vignette (including the tape + about 1mm over the tape) with a thin layer of UV or epoxy resin and let it set according to the manufacturer’s instructions.

